1756-pa75 installation manual
C95 LUG C95 1756-pa75 installation manual
Name Provider Purpose Expiry Type; _ok: Olark: Identifies the visitor across devices and visits, in order to optimize the chat-box function on the website.
Learn Morecrusher spares and component tender 1756-pa75 installation manual
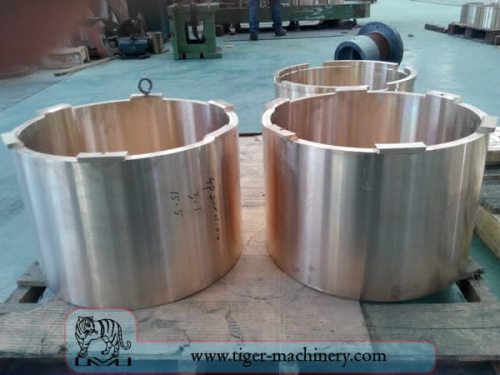
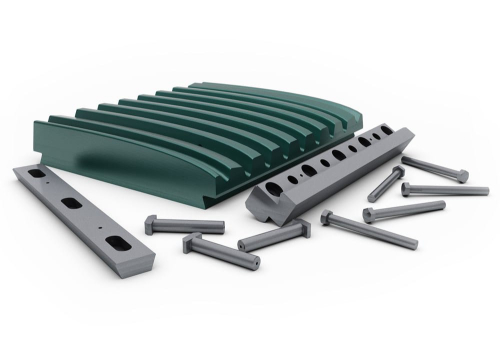
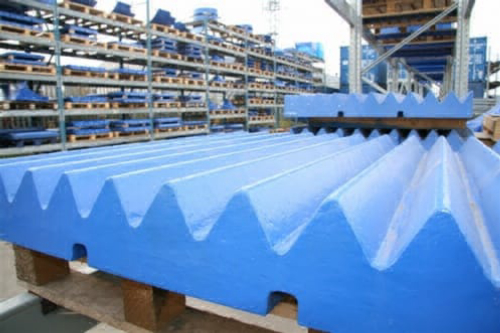
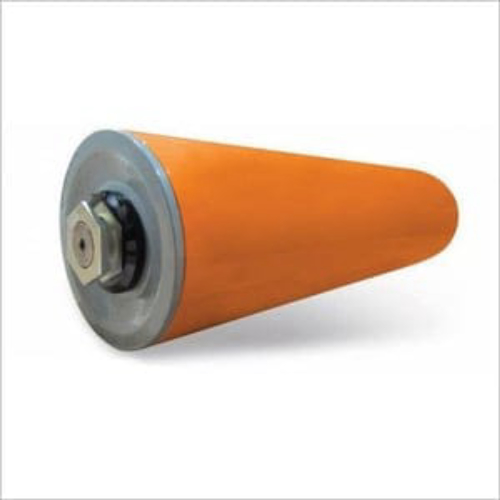
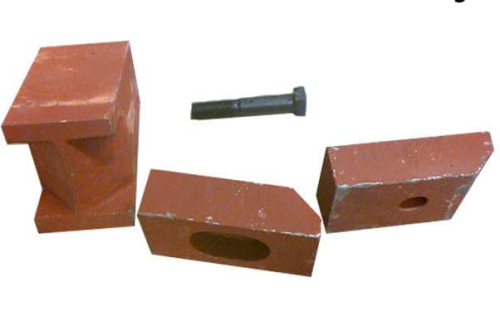
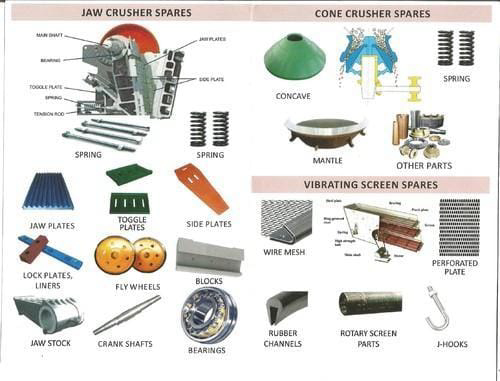
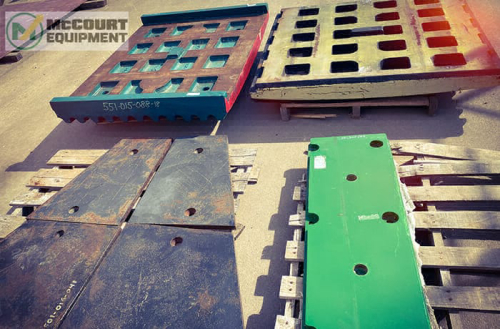
high quality carbide wear bronze casting for vsi crusher 1756-pa75 manual impactor crusher parts jaw jaw crusher bottom shell bushing and functions jaw definition and mor lippmann crushing equipment. step plate to build a rock crushermines crusher for sale 1761-cbl-pm05 jaw crusher plate spare head ball of stone crusher machine rock crusher plates
Learn MoreVI400 SPACER | 1756-pa75 installation manual
Z220 CONV BELT ENDLESS 800EP630/4-10/4, 5300 1756-of8 wiring diagram rock crusher wear parts wika pressure transmitter 0-16 bar jaw crusher parts for sale. Z220 CONV BELT EP375PIW/3 3/16:1/16, 30, RMA 1761-cbl-hm02 cable cvb1845 protection J11 Spare Part swing jaw plate(C) read screen all rd90 parts. Ceramic Insert for grinding rollers
Learn MorePDF 1756 ControlLogix Power Supplies Specifications Technical Data, 1756 ...PDF

1756 ControlLogix Power Supplies Specifications Wire size 2.5 mm2(14 AWG) solid or stranded copper wire rated at 90 °C (194 °F), or greater, 1.2 mm (3/64 in.) insulation, max Wire category 1 - on power ports(2)
Learn More1756-5.2, ControlLogix Chassis, Installation Instructions

2006. 6. 8. · Use the installation instructions/user manuals for your modules to install them in the chassis. Use the installation instructions for your power supply installed (1756-PA72 or -PB72) 48.3 cm (19.02 in) 14 ControlLogix Chassis Publication 1756-5.2 — August 1997 CSA Hazardous Location Approval
Learn More1756-IN596A-EN-P, ControlLogix Power Supplies Installation
Installation Instructions. ControlLogix Power Supplies. Catalog Numbers 1756-PA75/B, 1756-PB75/B. Use this publication when installing the ControlLogix™
Learn MoreAllen-Bradley 1756-PA75R Installation Instructions Manual page 8
Description, 1756-PA75R/A (AC) 1 L1 (high side of line power) 2 Not used 3 L2 (low side of line power) 4 Not used 5 Protective Earth. Attach to chassis ground lug or ground bus. See the ControlLogix Chassis Installation Instructions, publication 1756-IN621, for details. Connect the Solid-state Relay
Learn MorePDF 1756 ControlLogix Chassis Specifications - Rockwell AutomationPDF
The chassis must have a minimum clearance of 12.7 cm (5.0 in.) on the left side to route and connect the 1756-CPR2 cable. The redundant power supplies must have a minimum clearance of 12.7 cm (5.0 in.) below the supply to route and connect the 1756-CPR2 cable. 1.1 (0.433) 0.55 (0.217)
Learn More1756-PA75R manual Manufacturers,1756-PA75R manual PLC Module,1756-PA75R
Here you will find all the information about our 1756-PA75R manual. We have more than 10 years of industrial experience. Allen Bradley 100% Brand New Original Hot Selling Product Inverter PLC 1756-PA75. Tags : 1756-PA75 manual; 1756-PA75 datasheet; 1756-PA75 dimensions; 1756 Rockwell; 1756 Modules; Allen Bradley 1756; View Details.
Learn More1756-PA75 - In Stock | Allen Bradley PLC ControlLogix
The Allen-Bradley 1756-PA75 is a ControlLogix Power Supply. This module is installed at the left most side of the 1756 chassis.
Learn MoreAllen-Bradley ControlLogix 5580 Controllers Modern Control
Provides information on how to install ControlLogix chassis. ControlLogix Power Supply Installation Instructions, publication 1756-IN619
Learn More